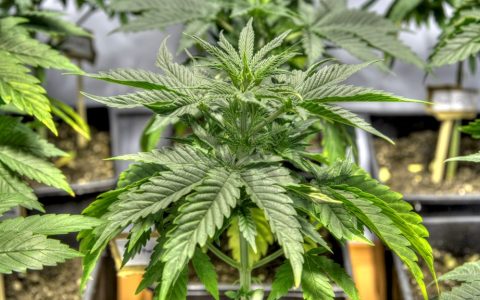
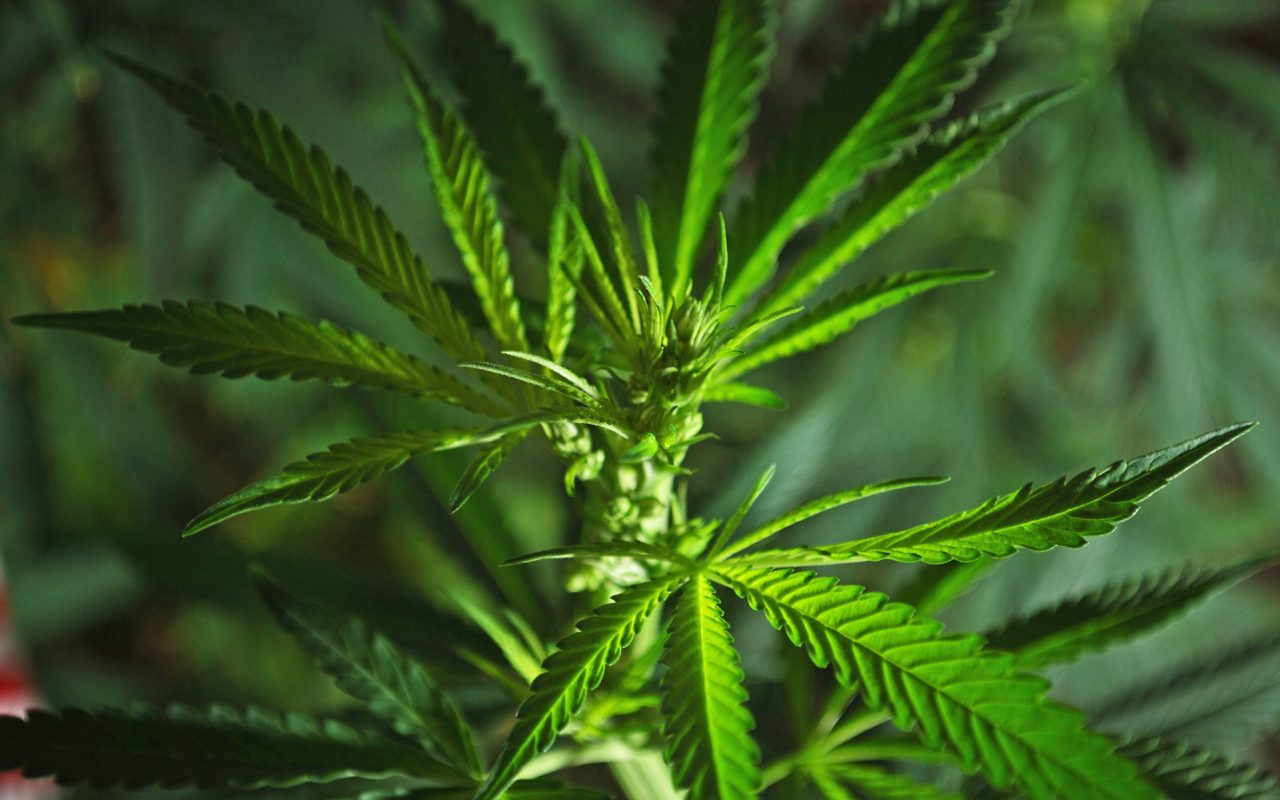
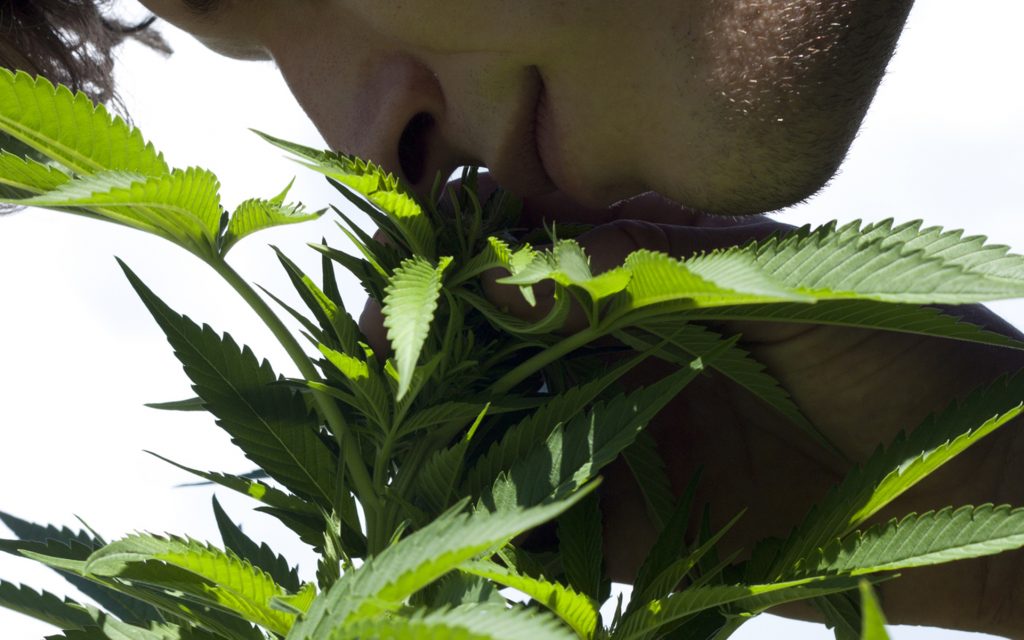
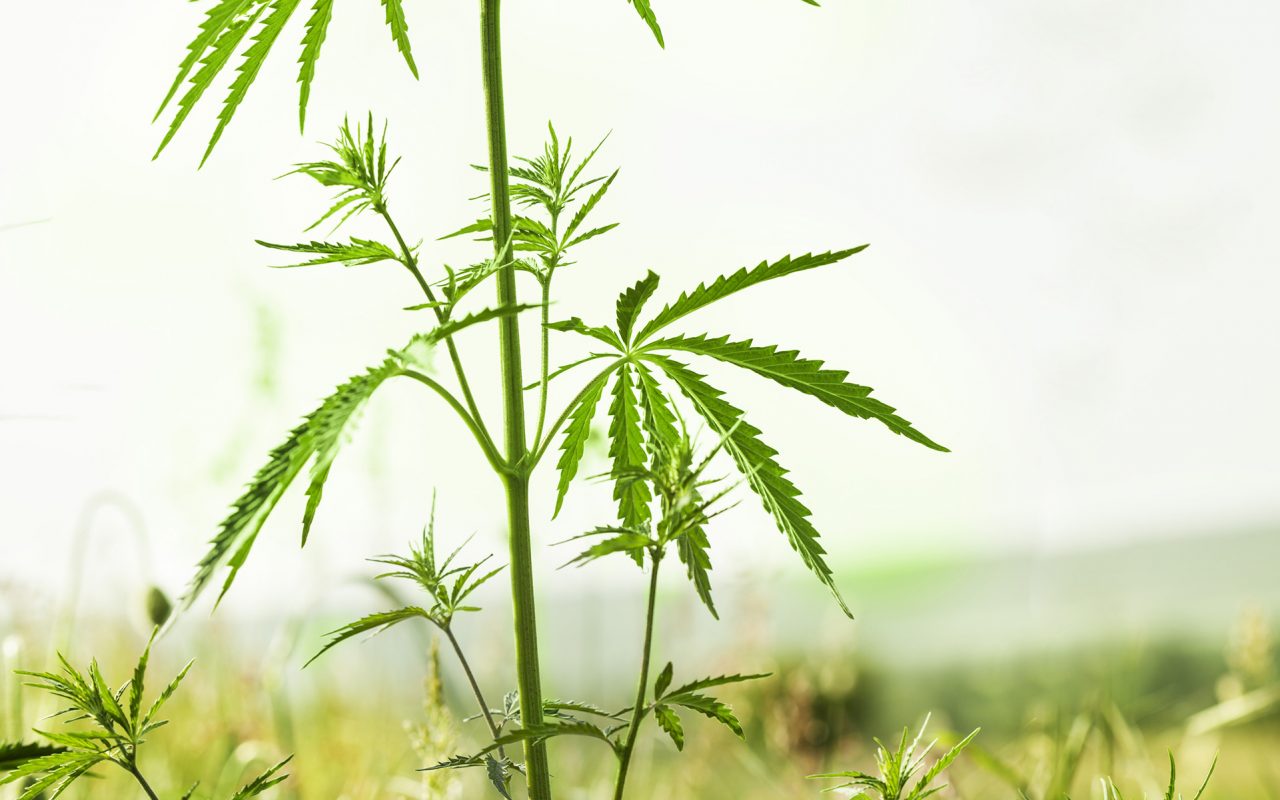
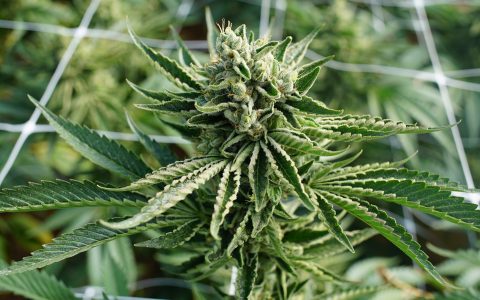
This cannabis green rush is coming to this colony!! Getting high from cannabis is just one of many options, a person can do with cannabis!! But the most important part is understanding how the plant grows.. This thread will show the options for growing nature finest product!! Enjoy and happy learning!!
 What Is Hydroponics? An Overview of Soilless Growing
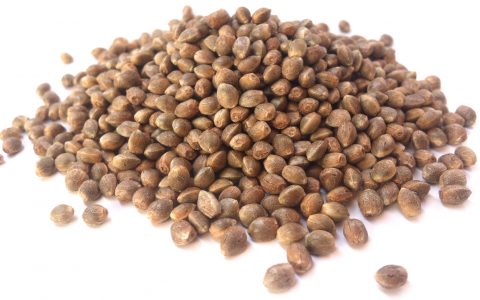
Hydroponics is a method of growing plants without the use of soil. The plant roots are suspended in sand, gravel, water, coco peat, rockwool, or clay pellets (just to name a few), and nutrients are applied directly to the roots using a solution. Any water that is not absorbed by the roots is recycled through the system to be absorbed later.
In Part 1 of this two-part series, we’ll explore everything those interested in hydroponics should know, from the different growing systems to what nutrients one should use. For Part 2, we’ll go into how to grow cannabis using hydroponic growing methods.
A Hydroponics History Lesson
This method has a futuristic quality about it, but you might be surprised to learn the practice stretches back centuries. Some theorize that around 600 BC, the Hanging Gardens of Babylon were established with hydroponic methods. Historians can conclude with more certainty that the Aztecs used a style of hydroponic farming in the 10th and 11th centuries when they began to farm on Lake Tenochtitlan.
RELATED STORY
Cannabis Evolution: What Do We Know About the Plant’s Earliest Origins?
Today, hydroponic cultivation has given rise to some of the world’s best cannabis. The increasing popularity of cannabis cultivation has massively contributed to advancements in hydroponic systems and nutrient formulation, and it continues to help write the modern history of hydroponics. But what more is there to know about this age-old technique embraced by farmers worldwide?
The Different Hydroponic Systems for Your Garden
Hydroponics is a loosely defined term; there are many different unique systems that can be classified as hydroponics. The common denominator all hydroponic systems share is that they are soilless systems that provide three main ingredients: nutrients, oxygen, and water. Below are six of the most common styles of hydroponic techniques.
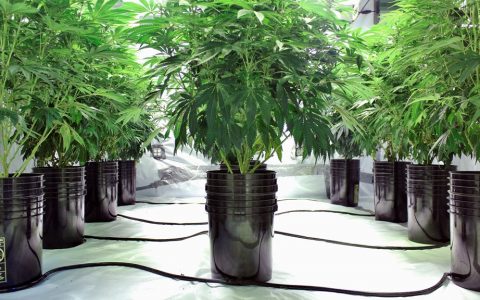
Deep Water Culture (DWC)
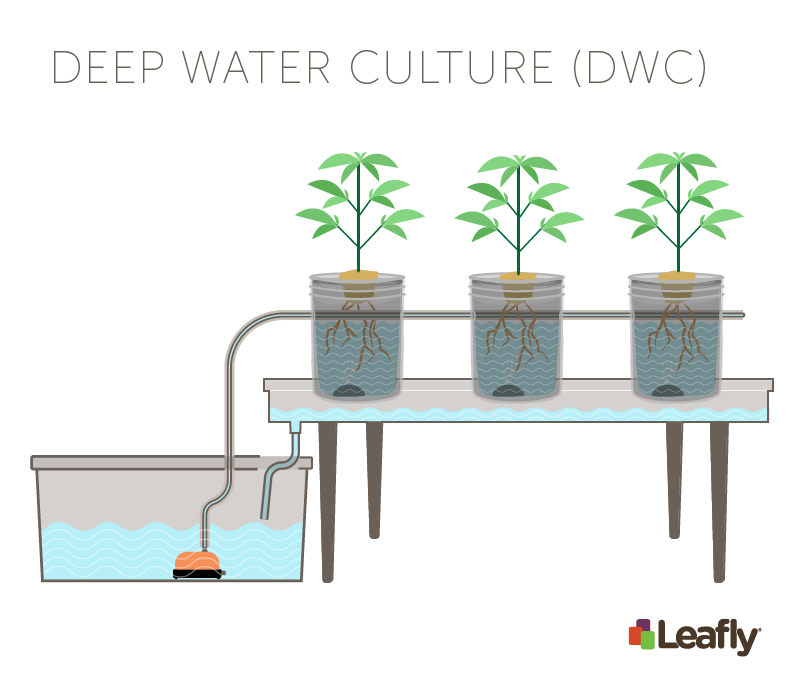
(Amy Phung/Leafly)
Deep water culture (DWC) is the most basic of all hydroponic systems. This system is good for beginners as it’s very cost effective and easy to run.
The idea is simple. Plants are put in separate containers and each is placed in a grow tray that is suspended in water. Alternatively, companies such as Current Culture or Root Spa have created pots that can hold water individually, removing the need for trays.
In this setup, the water tank has an air pump to keep the water oxygenated, and nutrients are then added to the water to feed the plant via the roots. The roots can stay submerged and still receive oxygen thanks to oxygenating air pumps.
RELATED STORY
Growing Cannabis Indoors vs. Outdoors: 3 Key Differences
Nutrient Film Technique (NFT)
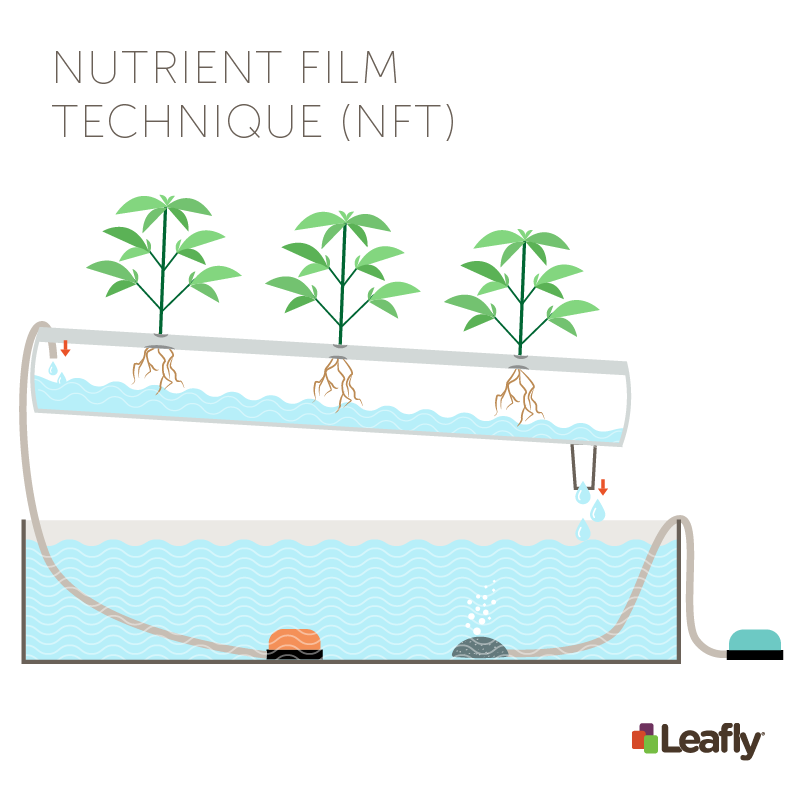
(Amy Phung/Leafly)
Unlike the simple DWC system, the nutrient film technique (NFT) is a bit more complex. For this method, you are taking your oxygenated water nutrient solution and pumping it from the reservoir to your planting tube. Growers commonly use large-circumference PVC tubing that is angled at a slight decline so that the pumped water solution drains down the planting tube, passing by the roots of all the plants before being recycled into the holding tank.
One common issues with the NFT system is the water solution failing to exit the planting tube. If water sits stagnant in the channel, bacteria can grow and kill your plants. To prevent this issue, the angle of the planting tube needs to be steep enough to allow the solution to pass through entirely. Keep in mind that root density may also cause chamber clogging, as they grow fast and thick in such an ideal environment.
On the other hand, one benefit of NFT is the ability to expand the system easily. Adding more holes in your planting tube to hold more plants, or simply adding more planting tubes, will allow you to easily expand your grow as long as your holding tank and pump can handle the extra work.

RELATED STORY
What Are the Best Nutrients for Growing Cannabis?
Ebb and Flow

(Amy Phung/Leafly)
Unlike NFT or DWC systems, an ebb and flow system does not continuously cover the roots in water. Like an ocean tide coming in and out of mangroves, the ebb and flow system will fill a tray with the oxygenated water nutrient solution, treating the growing medium and the plants. Once full, the pump will turn off and solution will drain back down into the reservoir, where it will stay until the garden is ready to be flooded again at the desired interval.
This is a great system in that the roots receive massive doses of oxygen in between tray flooding. It also allows you to harvest plants easily while adding or taking away plants.

RELATED STORY
Tips for Watering Your Cannabis Plants Effectively
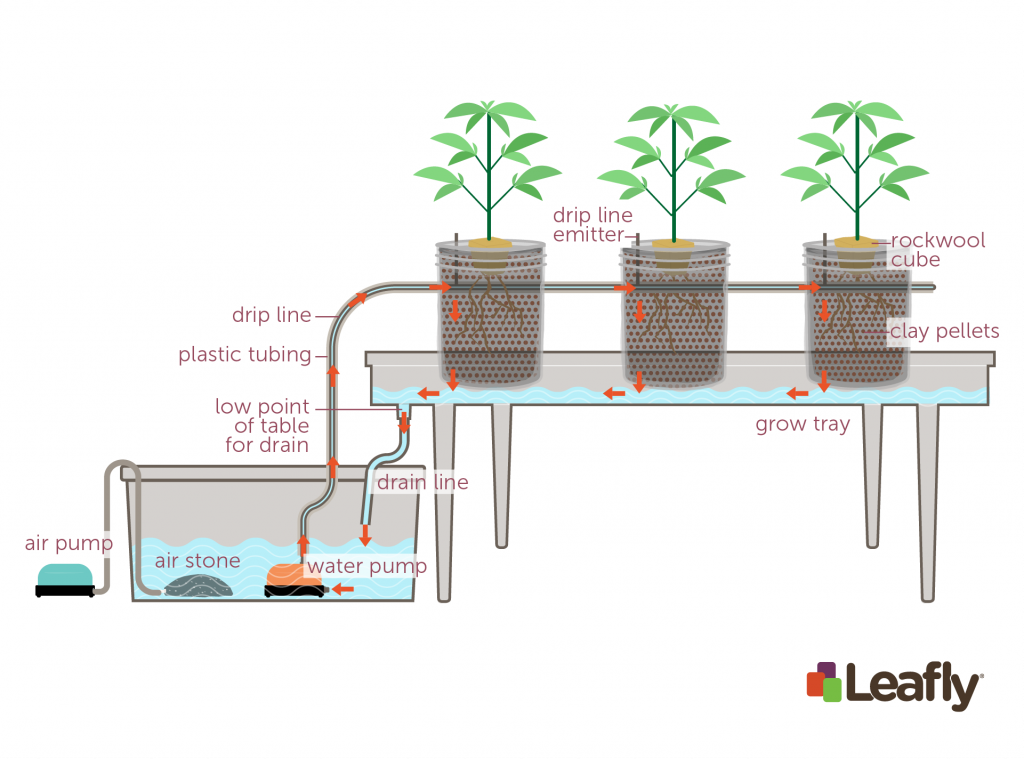
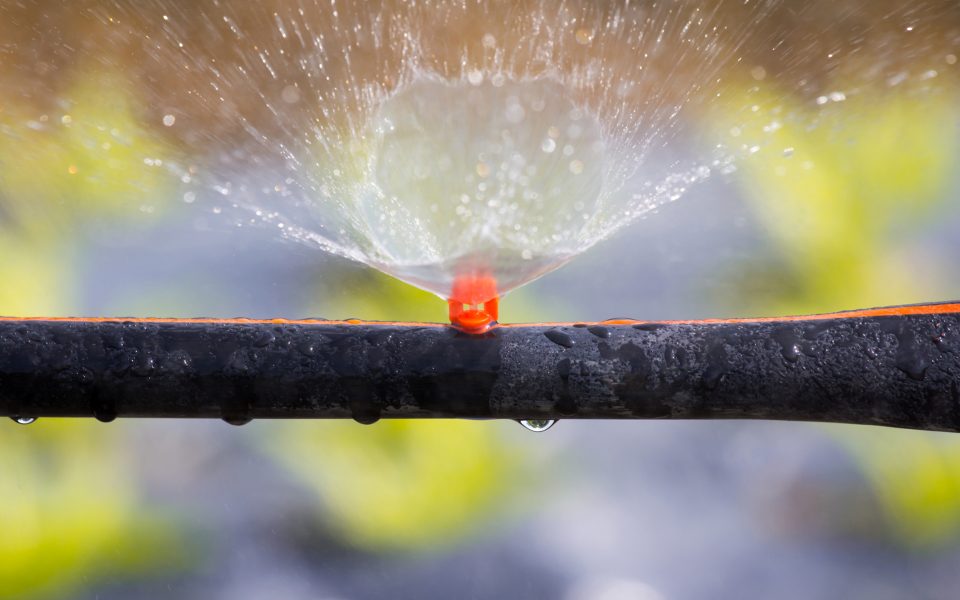
Drip System
(Amy Phung/Leafly)
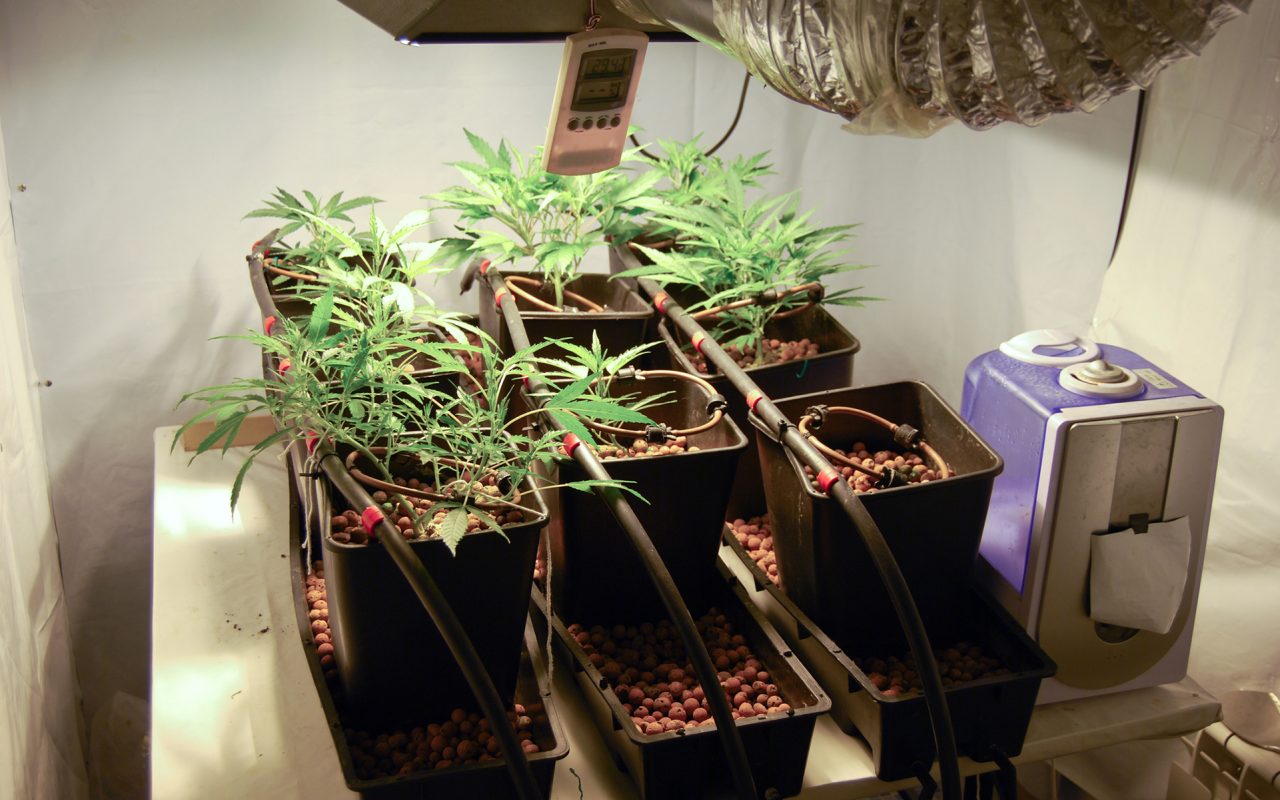
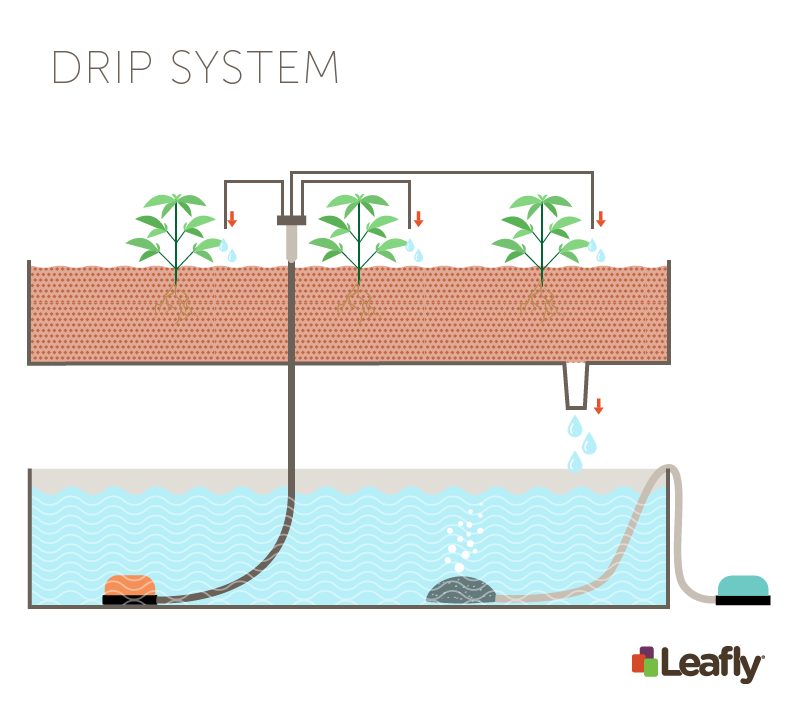
A drip system is one of the more popular systems for growing on a commercial scale, and it offers the greatest array of media choices. Using individual drippers that are placed in each plant’s growing medium, you deliver equal amounts of the oxygenated water nutrient solution to every plant. Excess solution that is not absorbed by the plants is drained back into the reservoir to be pumped back through the dripper system as necessary.
This system allows for the quick harvest and swapping out of plants by simply removing the dripper from the growing medium. By using dripper systems with customizable flows, you can control how much solution each plant is receiving. Also, with a drip system you have more control over the watering schedule in your garden and can easily change the frequency of waterings based on what the plants need at that given time.

RELATED STORY
When Is Your Cannabis in Season? Factors That Influence Growing, Harvest, and Availability
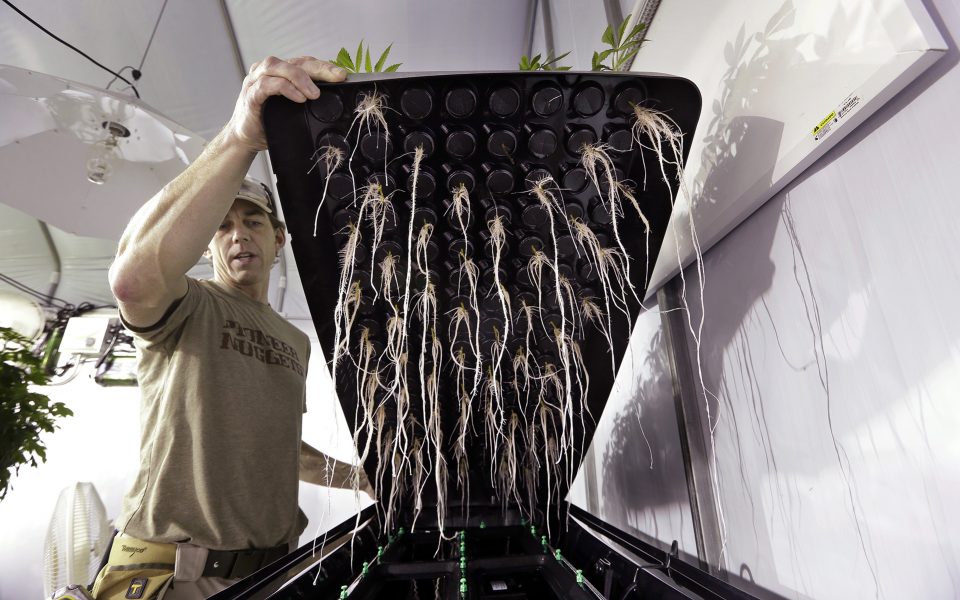
Aeroponics
(Amy Phung/Leafly)
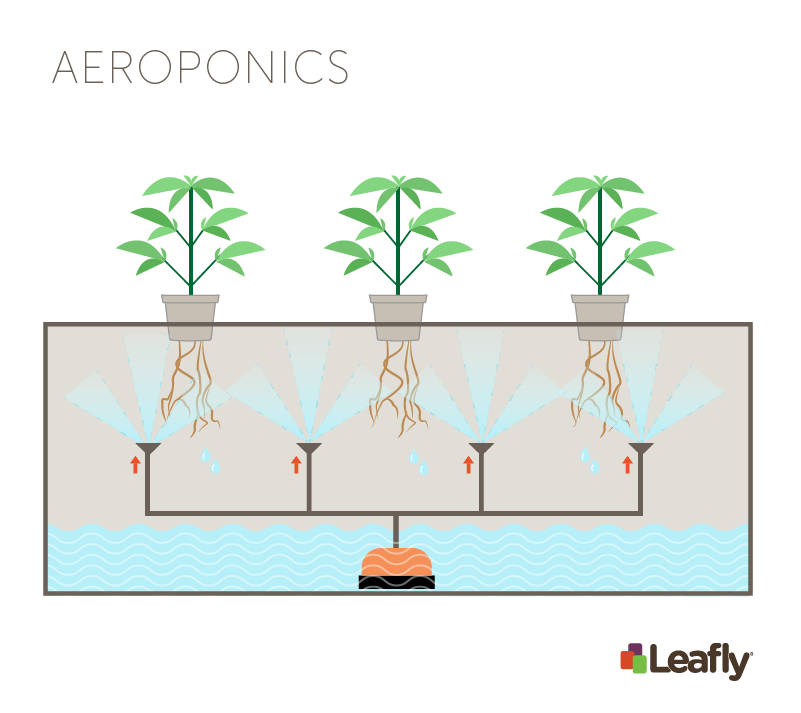
Aeroponics is the most unique hydroponic system. With an aeroponic system, the oxygenated water nutrient solution is being taken from the reservoir and then pumped into misting valves that spray a fine mist into chambers where the roots are exposed. By growing aeroponically, you are introducing the highest percentage of oxygen to the roots by not continually soaking the roots in water. Aeroponic systems can be costly to set up, but they’re also very effective for large-scale grows as they allow for successful vertical growing, thus maximizing your growing space.
The biggest concern for growing aeroponically is clogged misting valves. Without any moisture on the roots, your plants will die rapidly.

RELATED STORY
Introduction to Growing Cannabis with Aeroponics
Wick System
(Amy Phung/Leafly)
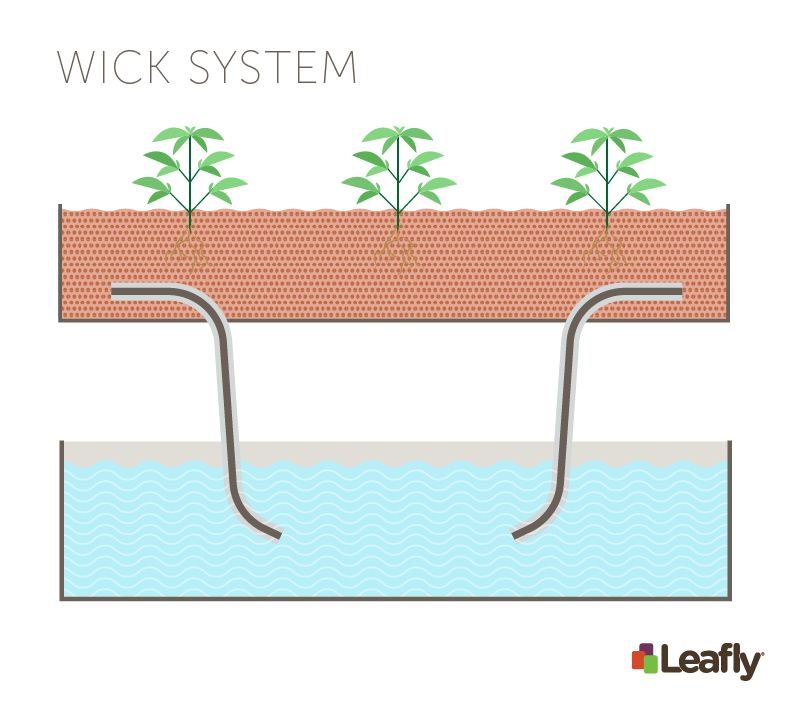
The wick system is the most basic system of hydroponics. Similar to DWC, a wick system uses a material such as a piece of rope through a PVC tube. The oxygenated water nutrient solution is pulled up the rope and dispersed in the growing tray. Using this method, you do not need a water pump to bring the solution to the plants, which means one less piece of machinery that can break down. This is a very basic system that can be used to explore how hydroponics work before investing in more complex setups.
Hydroponic Growing Mediums
The list of growing mediums that can be used for hydroponics is virtually endless, but we’ll review three of the most common. These mediums vary in their ability to allow oxygen in and retain water, and they can be used in different ways to support and contain the plants. As you practice hydroponics, you’ll discover what medium best suits your system and your plants.
RELATED STORY
Avoid These 5 Common Cannabis Growing Mistakes
Rockwool
Rockwool is made of thin rock fibers that were created by heating rocks to extremely high temperatures and then spinning them into small threads. Rockwool has been a longtime favorite for hydroponic growing because of its ability to breathe and retain moisture.
When using rockwool, it needs to be soaked in a pH solution before being used. To do this, prepare a pH solution that has a reading of 5.5, then soak the rockwool in the solution for 8-12 hours. Once you have soaked the rockwool, check the pH level of the solution—if it is between 5.5 and 6.0, the rockwool is ready for use.
Clay Pellets
A common reusable medium, clay pellets are heavy enough to support your plants but light enough to work with easily. Clay pellets wick up moisture towards the roots while their size allows for enough oxygen to flow through.
Coconut Fiber
Similar to rockwool but sustainable, coconut fibers once were a waste product that are now being used as a grow medium for hydroponics. They allow in more oxygen and retain more moisture than rockwool, making them a very popular hydroponic medium. Furthermore, coconut fibers have plant-stimulating hormones that help protect roots from infection and disease.
RELATED STORY
Diagnosing Cannabis Nutrient Deficiencies in Sick Plants
Hydroponic Nutrients
When gardening with hydroponics, you can completely control the nutrients supplied to the root system as well as the pH level. A benefit of growing hydroponically is that the roots can easily access nutrients without having to search for them. Complete control of the pH level also allows for maximum nutrient uptake by the plant. The energy saved by bringing the nutrients directly to the roots and keeping a stable pH level results in bigger and stronger plants.
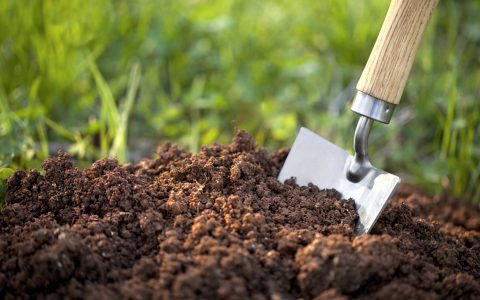
The most notable difference between growing in soil and hydroponically is that soil on its own has nutrients and microorganisms that benefit the plant. When you are feeding a plant in soil, you are supplementing the nutrients while also feeding the microorganisms. If you do not feed a plant in soil, it will still grow but will not reach its full potential.
With hydroponics, you are responsible for providing all the nutrients the plant needs to survive. If you neglect nutrients the plant needs, it will die. Consequently, quality nutrients are essential when growing with hydroponics as there is no room for error.

RELATED STORY
Organic vs. Chemical Cannabis Fertilizers for Your Grow
Looking into the different systems, mediums, and nutrients for hydroponics can be overwhelming. However, hydroponic systems allow you to produce robust, healthy, and large plants that mature quickly by providing an ideal environment. What cannot be stressed enough is that when growing hydroponically, you can’t cut corners with the quality of your system. Your equipment must run, your mediums must be supportive and clean, and your nutrients must be accurate. When you meet these requirements, gardening with hydroponics will yield incredible results.
Now that you have an understanding of hydroponic growing, next we’re going to explore how to best use systems and techniques for your cannabis crop. Stay tuned!